Why Industrial X-Ray 2 Is Important
Industrial X-Ray 2 plays a vital role in maintaining product reliability, safety, and compliance with international quality standards. Traditional testing methods often require cutting, dismantling, or destroying the part, leading to waste and loss. X-Ray 2 eliminates this issue by allowing internal examination through non-invasive imaging.
Manufacturers rely on this technique to detect cracks, porosity, slippage, inclusions, or weld defects at an early stage. Early detection reduces downtime, improves material efficiency, and saves significant costs on repairs and replacements. Industrial X-Ray 2 not only ensures product accuracy but also helps companies maintain certifications such as ISO, ASME, and API by meeting non-destructive testing compliance standards.
Benefits of Industrial X-Ray 2 Testing
Using Industrial X-Ray 2 brings measurable advantages to businesses and manufacturing operations.
-
Detects minute internal defects without damaging the component.
-
Offers real-time imaging with superior accuracy and resolution.
-
Reduces manufacturing risk by ensuring high-quality welds and assemblies.
-
Improves product safety and customer satisfaction.
-
Helps industries comply with quality and safety standards.
-
Provides permanent digital records for traceability and certification.
-
Cost-effective compared to destructive inspection techniques.
Diagnopein’s Industrial X-Ray 2 lab facilities are equipped with state-of-the-art technology that ensures precision results, handled by certified professionals in radiographic interpretation and imaging analysis.
How Industrial X-Ray 2 Testing Works
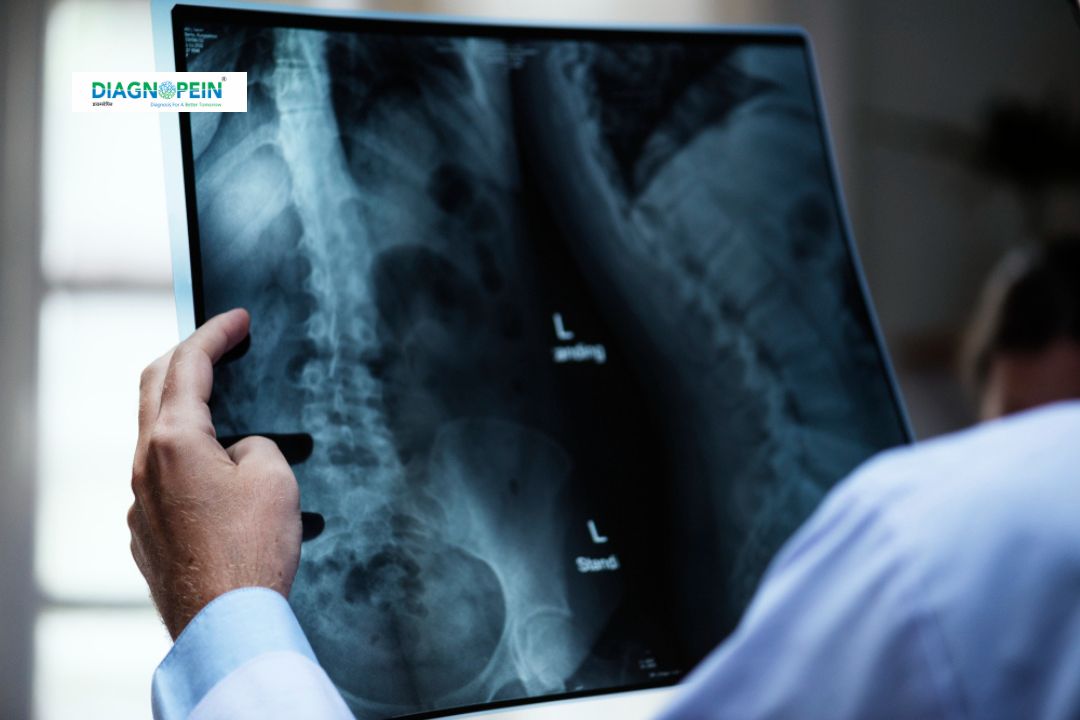
Industrial X-Ray 2 operates by passing a controlled beam of X-rays through the object under test. The radiation interacts with the material’s density and thickness, creating a differential contrast when captured on a digital detector or film. These images are then interpreted by expert radiographers to identify anomalies or structural defects.
Steps in the testing process include:
-
Preparation: Selecting test samples and calibrating the X-Ray equipment.
-
Exposure: Directing X-ray beams through the material using calibrated energy levels.
-
Imaging: Capturing digital radiographs for detailed inspection.
-
Analysis: Interpreting images for cracks, voids, porosity, or other discontinuities.
-
Reporting: Delivering findings with visual proof and recommendations.


